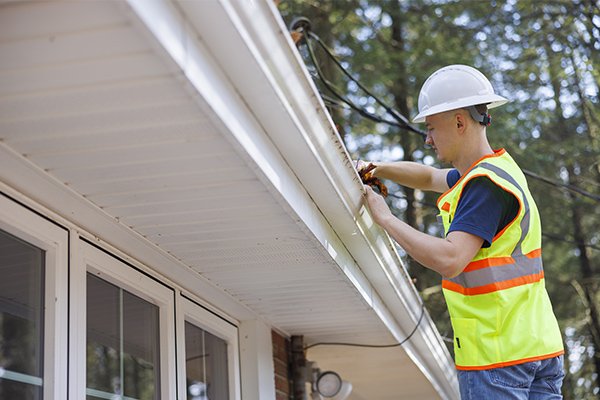
Installing eavestroughs, also known as gutters, is essential for protecting your home from water damage. This comprehensive guide will walk you through everything you need to know about eavestrough installation.
Why Eavestroughs Are Important
Eavestroughs are crucial for directing rainwater away from your home’s foundation, preventing basement flooding, soil erosion, and damage to siding and landscaping. Properly installed eavestroughs ensure the longevity and structural integrity of your home.
Types of Eavestroughs
Material Options
- Aluminum: Lightweight, rust-resistant, and available in various colors.
- Copper: Durable and aesthetically pleasing but more expensive.
- Vinyl: Cost-effective and easy to install but less durable in extreme weather.
- Steel: Strong and durable but prone to rust if not properly maintained.
Styles
- K-Style: The most common type, known for its decorative shape.
- Half-Round: A more traditional style, often used in older homes.
- Box Style: Large and capable of handling significant water flow, typically used in commercial buildings.
Tools and Materials Needed for Installation
- Eavestroughs
- Downspouts
- End caps
- Elbows
- Screws and brackets
- Sealant
- Measuring tape
- Ladder
- Level
- Hacksaw or tin snips
- Drill
Step-by-Step Guide to Eavestrough Installation
1. Measure and Plan
Start by measuring the length of your roofline to determine how much material you’ll need. Plan the placement of downspouts to ensure efficient water flow away from your home.
2. Cut and Prepare the Eavestroughs
Cut the eavestroughs to the required lengths using a hacksaw or tin snips. Make sure to smooth any rough edges to prevent injury and ensure a clean fit.
3. Attach the End Caps and Outlets
Secure the end caps to the ends of the eavestroughs using screws and sealant to prevent leaks. Attach the outlets where the downspouts will be connected.
4. Install the Eavestroughs
Position the eavestroughs along the roofline, ensuring they have a slight slope towards the downspouts for proper drainage. Use brackets to secure the eavestroughs to the fascia board, spacing them about 24 inches apart.
5. Attach the Downspouts
Connect the downspouts to the outlets using elbows. Secure the downspouts to the wall with brackets, ensuring they direct water away from the foundation.
6. Seal Joints and Test
Apply sealant to all joints and connections to prevent leaks. Once the sealant is dry, test the system by running water through the eavestroughs to ensure proper flow and no leaks.
Maintenance Tips
- Regular Cleaning: Remove leaves and debris to prevent clogs.
- Inspect for Damage: Check for cracks, rust, or loose brackets regularly.
- Ensure Proper Slope: Make sure the eavestroughs maintain the correct slope for efficient drainage.
Professional Installation vs. DIY
While installing eavestroughs yourself can save money, hiring a professional ensures the job is done correctly and safely. Professionals have the expertise and tools to handle complex installations and can spot potential issues that might be missed by a DIY approach.
Conclusion
Proper eavestrough installation is vital for protecting your home from water damage. By following this guide, you can ensure your eavestroughs are installed correctly and efficiently. Whether you choose to do it yourself or hire a professional, maintaining your eavestroughs is key to preserving your home’s structural integrity. For more information and professional assistance, visit Maxima Aluminum.
